November 12, 2025
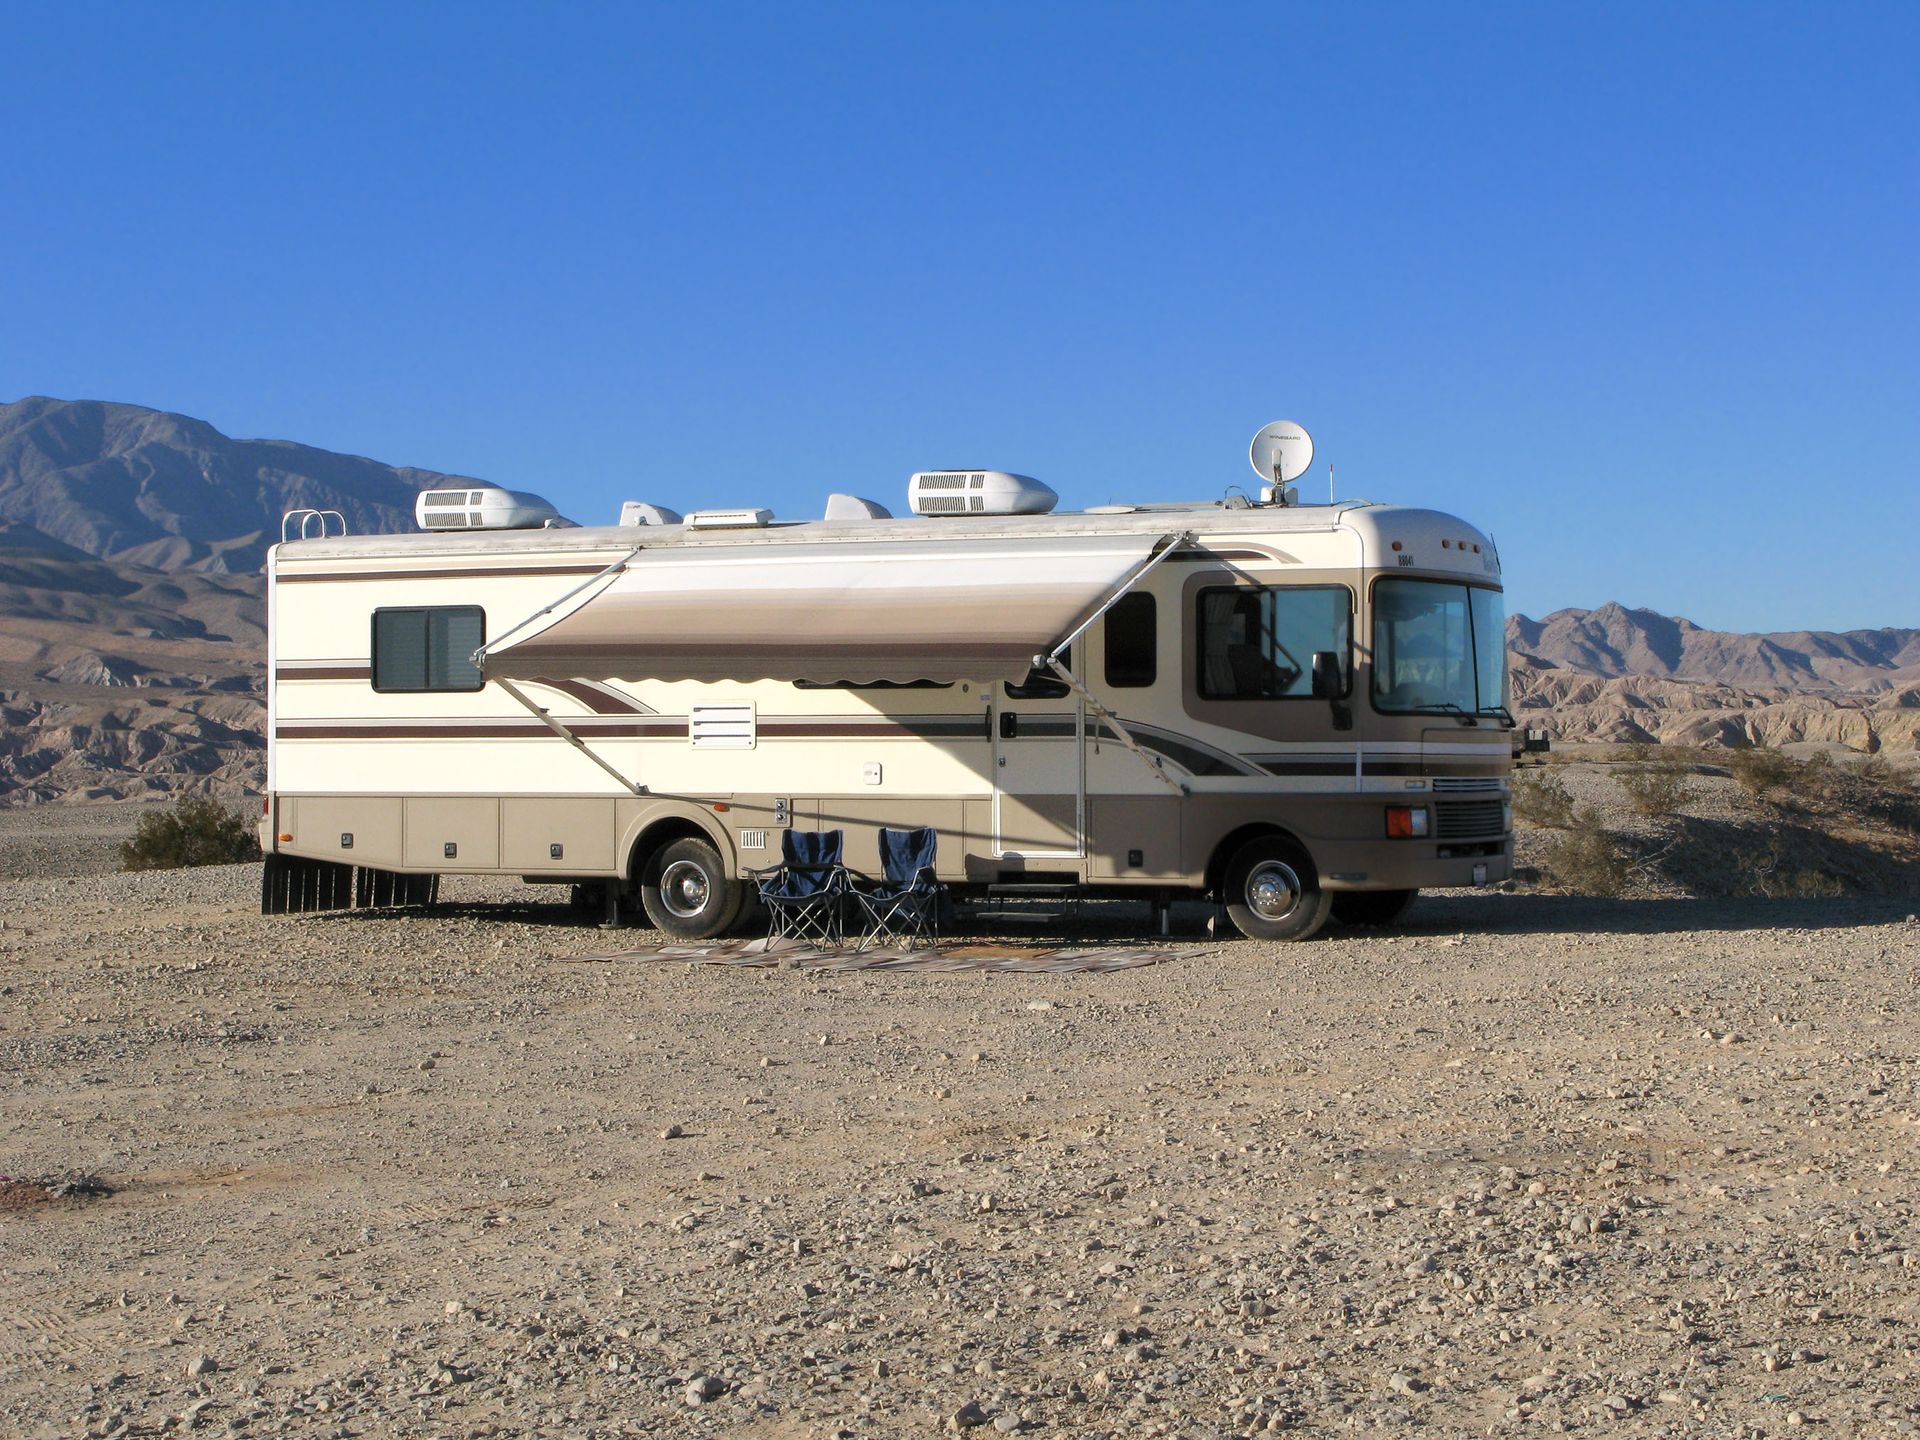
Recreational vehicles (RVs) offer the freedom to explore the world with the comforts of home. However, one common challenge faced by RV owners is maintaining the roof. This part of the vehicle is frequently exposed to harsh weather conditions, leading to potential issues that can drastically affect the longevity and enjoyment of the RV. Waterproofing is a crucial solution that can address many of these common problems. In this article, we'll explore the various RV roof issues that can be remedied by effective RV roof waterproofing techniques. According to Camper Champ, about 25 million RV camping trips take place in the United States each year.
1. Leaks and Water Intrusion
1.1 Identifying Leak Sources
Leaks and water intrusion are among the most frequent problems affecting RV roofs. Identifying the source of leakage can be challenging, as water often travels before it becomes visible inside the cabin. Common sources include roof seams, vents, and A/C units where the sealant may have failed. The challenge is magnified due to the RV's constant movement, which can exacerbate existing weaknesses. Regular inspections, especially after long trips and during wet seasons, are essential to catching potential leaks early. Applying RV roof waterproofing products can help prevent these issues from developing over time.
1.2 Consequences of Water Intrusion
Water intrusion can lead to significant damage, including mold, rot, and structural issues. Once water has entered the RV, it can affect the interior components and even electrical systems, posing safety risks. The costs of repair can quickly escalate if the water damage remains unaddressed. Damp conditions inside the RV also create an uncomfortable environment, which can ruin the joy of RV trips. Therefore, keeping the roof watertight through consistent RV roof waterproofing is imperative for RV owners.
1.3 Types of Waterproofing Solutions
There are numerous waterproofing solutions available to tackle RV roof leaks. Liquid roofing products and sealants are popular due to their ease of application and capacity to form a seamless barrier. These solutions can also be used to reinforce existing seals around fixtures and edges. Waterproofing tapes and membranes offer additional protection, especially in more vulnerable areas. Selecting the right solution depends on the specific needs of the RV and the types of issues encountered. Many RV roof waterproofing options are designed to provide long-lasting protection in diverse climates.
1.4 DIY vs. Professional Waterproofing
Choosing between DIY and professional waterproofing depends on the RV owner’s experience and the extent of the damage. DIY solutions, such as applying sealants or patches, are typically cost-effective and can handle minor leaks. For more severe water damage or hard-to-detect leak sources, professional services ensure thorough inspection and repair. Professional services can also provide warranties and guarantees on their work, offering peace of mind. However, cost and accessibility may be barriers for some RV owners. Investing in professional RV roof waterproofing ensures a thorough and lasting solution.
1.5 Maintenance Tips to Prevent Future Leaks
Preventive maintenance is critical in avoiding future leaks. Regularly inspecting the roof for signs of wear, such as cracks or sealant deterioration, can prevent leaks from developing. Cleaning the roof and removing debris minimizes the risk of physical damage, which often leads to leaks. Applying fresh sealant periodically ensures that the roof remains waterproof. Consistent care prolongs the life of the RV roof and helps maintain its integrity, reducing the likelihood of costly repairs. Incorporating regular RV roof waterproofing as part of maintenance helps protect against long-term damage.
2. Roof Sealant Deterioration
2.1 Signs of Sealant Wear and Tear
Sealant deterioration is a common issue that threatens the watertightness of an RV roof. Over time, exposure to the elements can cause sealants to dry out, crack, or peel. Visual inspections are crucial to identify these signs of wear and tear. Look for peeling edges, discoloration, and small cracks along seams and around fixtures. Addressing sealant problems promptly is essential to preventing large-scale water damage and costly repairs.
2.2 Impacts of UV Damage on Sealants
UV damage is a primary contributor to sealant deterioration on RV roofs. The sun's rays can cause the sealant to become brittle and lose its adhesive properties. This damage leads to the formation of small gaps that allow water intrusion, undermining the roof’s integrity. Regularly parking the RV in shade or using protective coverings can mitigate UV damage. Moreover, selecting sealants with UV-resistant properties is a wise choice for long-term protection.
2.3 Choosing the Right Sealant
Selecting the appropriate sealant for an RV roof is pivotal in ensuring effective waterproofing. Silicone-based sealants are popular for their elasticity and resistance to weathering, making them suitable for regions with varying climates. Alternatively, polyurethane sealants offer strong adhesion and durability, ideal for more rigorous applications. Compatibility with the RV roof material—be it rubber, fiberglass, or metal—is critical in choosing a sealant. Ultimately, the right sealant extends the lifespan of the roof and enhances its waterproof capabilities.
2.4 Application Techniques for Optimal Results
Applying sealant correctly is fundamental to achieving optimal waterproofing. Begin by thoroughly cleaning the roof surface to remove debris, dirt, and old sealant residue. Use a caulking gun for precise application along seams and around fixtures, ensuring full coverage. It’s important to smooth out the sealant to eliminate air pockets, which can compromise adhesion. Allow adequate curing time before exposing the roof to water to ensure optimal performance. Well-applied sealants form a robust barrier against water intrusion.
2.5 Regular Inspection and Resealing Practices
Routine inspection and resealing are essential practices in maintaining a watertight RV roof. Inspections should occur at least twice a year, preferably before and after the heavy travel season. During inspections, check all seals for signs of cracking, peeling, or gaps, and apply new sealant as needed. Regular maintenance ensures the roof is always prepared for the rigors of RV usage, including exposure to diverse weather conditions. Consistent care can significantly prolong the lifespan of the roof seals.
3. Mold and Mildew Formation
3.1 Causes of Mold and Mildew on RV Roofs
Mold and mildew are common problems when water intrusion occurs in RVs. Excessive moisture from leaks, combined with warm conditions, creates an ideal breeding ground for mold. Poor ventilation further exacerbates this issue, trapping moisture inside the vehicle. Mold spores can multiply rapidly, making early detection and intervention crucial. Therefore, addressing leaks at their source with proper RV roof waterproofing is essential in preventing mold and mildew growth.
3.2 Health Risks Associated with Mold
The presence of mold and mildew inside an RV poses significant health risks. Exposure to mold spores can trigger allergic reactions, respiratory issues, and other health problems, especially in vulnerable individuals. The confined space of an RV can intensify these effects due to higher concentrations of mold spores. Therefore, it's critical to address and remediate mold promptly to safeguard the health of occupants. Ensuring adequate ventilation and minimizing moisture entry are key preventative measures.
3.3 Effective Waterproofing to Combat Mold
Effective waterproofing is a powerful tool in combating mold growth on RV roofs. By eliminating leaks and ensuring the roof remains watertight, moisture intrusion is significantly reduced. Applying high-quality sealants and using waterproof membranes can effectively block moisture pathways. Frequent inspections and immediate repairs are imperative for maintaining a waterproof barrier. An RV that remains dry inside is less susceptible to mold and mildew infestation.
3.4 Cleaning and Treating Affected Areas
Treating mold-affected areas requires diligent cleaning and moisture control. Begin by using commercial mold cleaners or a bleach solution to disinfect affected surfaces. Wear protective gear during cleaning to prevent inhalation of mold spores. After cleaning, dry the area thoroughly to prevent re-growth. Consider applying mold-resistant coatings to the roof interior to offer additional protection.
RV roof issues are a common concern for many owners. However, with the right approach to waterproofing, these problems can be managed effectively, ensuring the longevity and safety of your vehicle. By understanding the causes and solutions for leaks, sealant deterioration, mold, and other climate-related issues, RV enthusiasts can enjoy their adventures with peace of mind. Regular maintenance and timely interventions are key to preserving the integrity of an RV roof, providing years of enjoyable travel experiences. If your vehicle needs RV roof waterproofing, make sure to contact Michigan RV FlexArmor LLC today!